Intranet
Add a Student Project
Steps for adding a new student project to the Student Projects archive.
Steps
- From the Site Admin menu, click New > Student Project.
- Add title.
- In the Add title field, click once, then type or paste the project title.
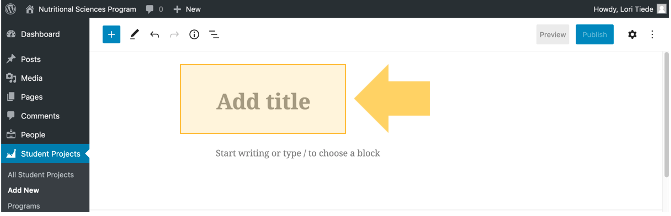
- In the Add title field, click once, then type or paste the project title.
- Add project description
- In the text block located below the title, click once to type or paste in a project description.
- Click once in the text block to reveal text formatting tools.
- Use the text formatting tools to add hyperlinks to the text.
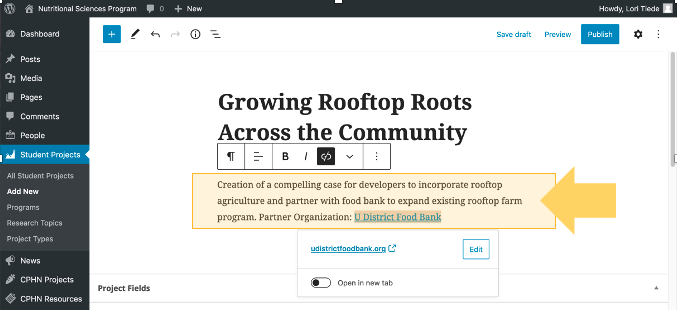
Shows how to add a hyperlink in the project description text block.
- Add Project Year and Publication Date
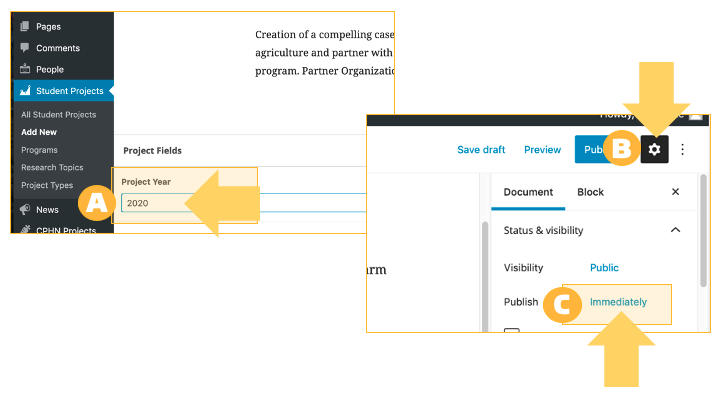
- Under Project Year, click once in the field, then type the 4-digit calendar year.
- In the top right corner of the page, click Settings (cog wheel icon) to expand the publication status properties.
- Next to Publish, click Immediately to view specific date and time settings. Manually override the publish date and time for this post. Choose a date and time relevant to the project, and choose strategically with other projects also published at the same time. The date selected will affect the project post sorting order, listing projects in reverse chronological order.
- Add Advisor(s)
- Under Project Advisor(s), search or browse the list of names and choose advisors to list with this project.
- Add Project Author(s)
- Click once in text field and type or paste author names. Remove line breaks and add commas between names.
- Add materials
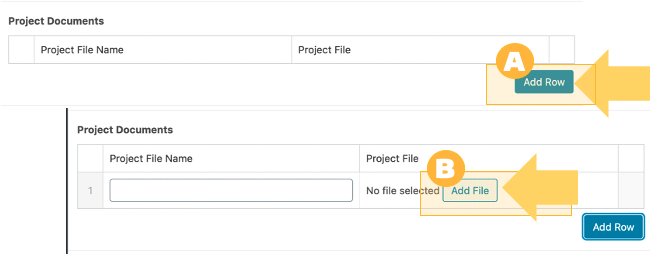
- Under Project Documents or Project Links, click Add Row.
- When adding a document, click Add File, then locate files from your local or shared drive to upload to the site.
- When adding a link, click into link URL and paste URL
- Under Project File/Link Title, click and enter a display title for the file or link.
- Repeat steps 1-3 if you have multiple files to upload.
- Under Project Documents or Project Links, click Add Row.
- Review and Edit URL Slug (Optional)
- You may optionally edit the URL length or details if you wish. If URLS are especially long, you could remove prepositions or unnecessary words to shorten.
- Choose Project Categories
- In the Settings panel (right of screen), scroll down to select categories.
- Under Programs, select the program(s) relevant to the project. This setting controls which recxently added projects are displayed and highlighted in academic program sections.
- Under Research Topics, select at least 1 topic, no more than 2 topics. This setting controls filtering on the Student Projects menu.
- Under Project Types, select all programs connected to this project. This setting controls filtering on the Student Projects menu.
- Reminder: Do not use the Research & Practice category. This is used for tagging news to appear on the Research section home page.
- Save Draft or Publish
Note: We do not use the fields Featured Image or Excerpt on project posts.